How to Join PVC Pipes: Step-by-Step Guide for Plumbers
Tools You Will Need
- PVC pipe cutter or fine-tooth saw
- Deburring tool or utility knife
- Clean dry cloth
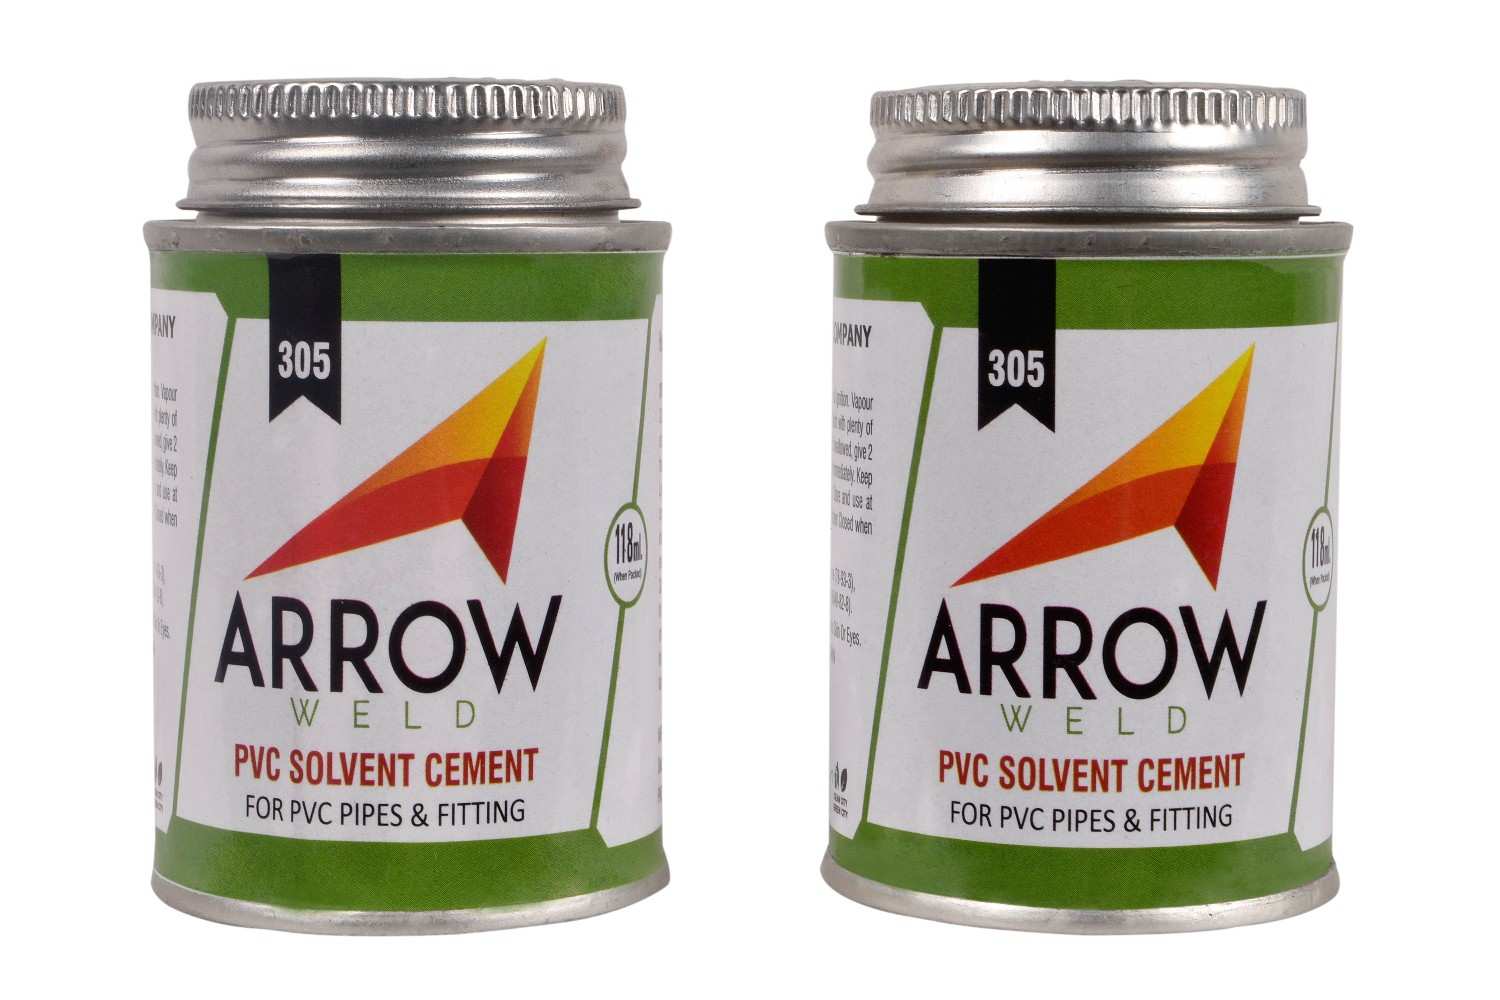
- PVC solvent with built-in applicator brush
- Measuring tape and marker
- Primer (recommended for critical joints)
Step 1: Measure and Cut
Measure the required pipe length and mark clearly. Cut the pipe square using a PVC pipe cutter. A square cut ensures maximum contact area inside the fitting socket, which is critical for a strong joint.
Step 2: Deburr and Clean
Remove all burrs and rough edges from the cut end. Wipe both the pipe exterior and fitting interior with a clean dry cloth to remove dust, oil and moisture. Contaminated surfaces are the number one cause of joint failure.
Step 3: Apply PVC Solvent
Apply a generous even coat of PVC solvent to the pipe end and inside the fitting socket. Work quickly as solvent begins to act immediately. Do not allow the solvent to dry before assembly.
Step 4: Assemble and Hold
Insert the pipe fully into the fitting with a quarter turn twist to distribute the solvent evenly. Hold the joint firmly for at least 30 seconds. Wipe away any excess solvent that squeezes out.
Step 5: Cure Time Before Testing
- 15 to 30 minutes: joint can be handled carefully
- 2 hours: joint reaches handling strength
- 24 hours: full cure before pressure testing
- In cold weather, allow extra cure time
Related Products
Ready to Order?
Contact Arrow Weld for bulk pricing, distributor inquiries and technical support.
Get a Quote